

Collision damage to car seats requires careful assessment and expert repair for structural integrity. Prepare workspace, gather tools, wear PPE, and consult professionals for severe cases. This guide covers seat replacement by removing damaged parts, installing new fabric, securing connections, and checking stability after repair. Post-repair professional inspection ensures vehicle safety.
When a vehicle experiences a collision, the seats often bear the brunt of the impact. Understanding common types of seat damage and knowing how to take appropriate safety precautions during repairs is crucial for both mechanics and DIY enthusiasts. This guide covers everything from recognizing collapsed or torn seating fabric to using the right tools and following a step-by-step process for safe and effective seat repair collision damage, ensuring both functionality and passenger safety.
- Understanding Common Collision Damage to Seats
- Preparation and Tools for Safe Seat Repair
- Step-by-Step Guide: Replacing Collapsed or Torn Seating Fabric
Understanding Common Collision Damage to Seats

Collision damage to seats can vary greatly depending on the type and severity of the incident. Common issues include torn fabric, broken springs, dislodged foam padding, and even damaged framework. Understanding these common problems is crucial for anyone looking into seat repair collision damage. A minor fender bender might result in simple adjustments or re-seating of components, while more severe auto collisions could require complete replacement of the seat assembly.
Visually inspecting the seats after an auto collision is essential. Dents, creases, and discoloration can indicate hidden structural damage. That’s why it’s recommended to seek assistance from a reputable auto collision center rather than attempting DIY repairs, especially if you’re unsure about the extent of the damage. Choosing a reliable auto repair near me ensures that your seats are safely and expertly restored to their pre-collision condition.
Preparation and Tools for Safe Seat Repair

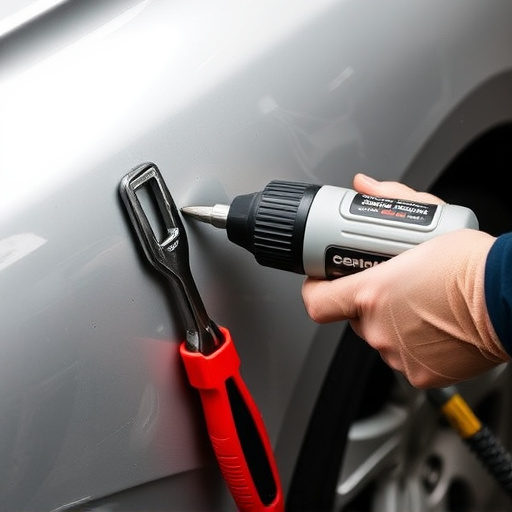
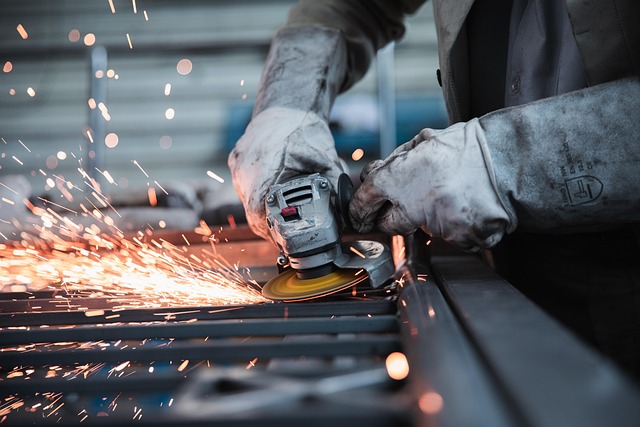
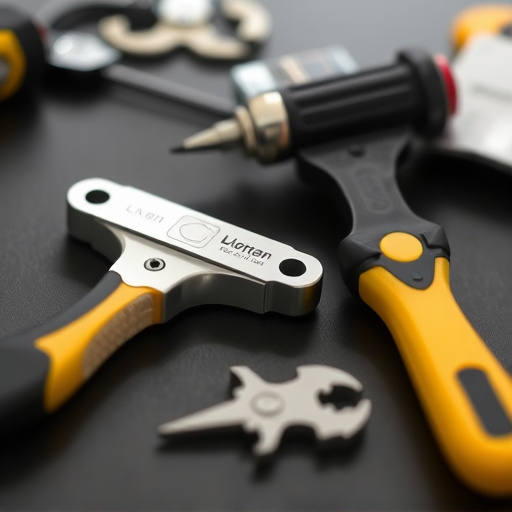
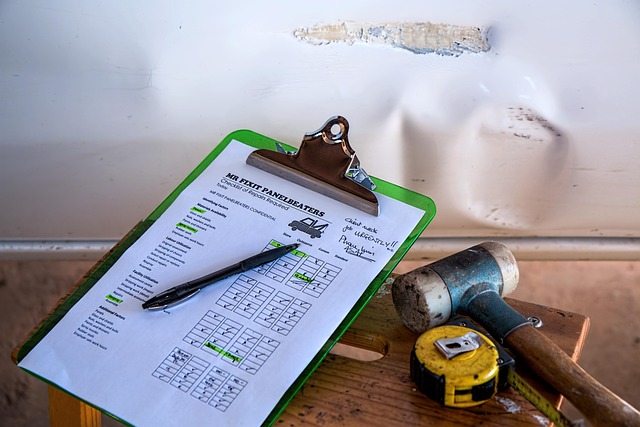
Before initiating any seat repair for collision damage, thorough preparation is key. This involves gathering all necessary tools and materials, ensuring a well-lit and clean workspace, and donning personal protective equipment (PPE) such as gloves, safety glasses, and ear protection. The right tools play an integral role in safe and effective seat repair; these include specialized screwdrivers for removing and installing components, a vacuum cleaner to remove debris, and fine-grit sandpaper for smoothing surfaces.
Additionally, having the correct auto body services expertise is vital. Trained professionals are equipped with the knowledge and skills to handle intricate seat repair collision damage, ensuring not just structural integrity but also aesthetic precision. They understand the importance of precise measurements, proper alignment, and using high-quality parts to match original equipment specifications. This meticulous approach guarantees that the repaired seat functions flawlessly and seamlessly integrates with the rest of the vehicle’s interior, like new, in a car repair shop setting.
Step-by-Step Guide: Replacing Collapsed or Torn Seating Fabric

When dealing with seat repair collision damage from a fender bender or more severe accident, one of the most common tasks is replacing collapsed or torn seating fabric. Here’s a step-by-step guide to help you through the process:
1. Safety First: Ensure your vehicle is secure and you have all necessary tools before beginning. Safety gear, such as gloves, should be worn to protect against sharp edges and debris.
2. Remove the Damaged Seat: Carefully disconnect the seat from its mounting points using the appropriate tools. This may involve detaching electrical wiring, belts, or other components attached to the seat. Once detached, gently lift the seat out of the vehicle for easier access to the fabric.
3. Inspect and Prepare the Frame: Examine the frame for any damage that might have caused the fabric to collapse or tear. Clean the area thoroughly, removing any dirt, debris, or remains of the old fabric.
4. Replace the Fabric: Obtain high-quality replacement fabric designed specifically for your vehicle model. Line up the new fabric with the frame and secure it in place using appropriate adhesives or fasteners. Make sure all edges are sealed to prevent fraying.
5. Reinstall the Seat: With the new fabric securely attached, carefully reinstall the seat, reattaching any electrical connections and other components that were removed during the process. Double-check all mounting points for stability.
6. Vehicle Restoration: After completing these steps, your vehicle is ready for final inspection. Visit an auto repair shop to ensure all safety features are functioning properly and to complete any remaining vehicle restoration tasks.
When undertaking seat repair due to collision damage, prioritizing safety is paramount. By understanding common collision issues and preparing with the right tools, you can effectively replace torn or collapsed seating fabric. This step-by-step guide ensures a structured approach to the repair process, enabling you to restore your vehicle’s interior to its former condition while maintaining safety throughout.